It's always a painful job to deploy the code on the production environment after even a full testing till UAT. Why, so. Some times we do not expect what is going to be happen after you deploy the code to production.
For our better, we think of use of automation tools or auto deployer, which can make our task easy, and we do not need to break our head at production.
Elastic BeanStalk is good example for auto deploy the code, and build it's dependencies along. You use simple Elastic Beanstalk image or you may build your own image for the deployment with help of packer, which will have few provisioners and AWS details.
It also helps in shipping the code to the EC2 instance and creating different environments like, testing, staging and production of same application.
Let's get started with Elastic BeanStalk with few fundamental details.
Launch an Elastic Beanstalk environment
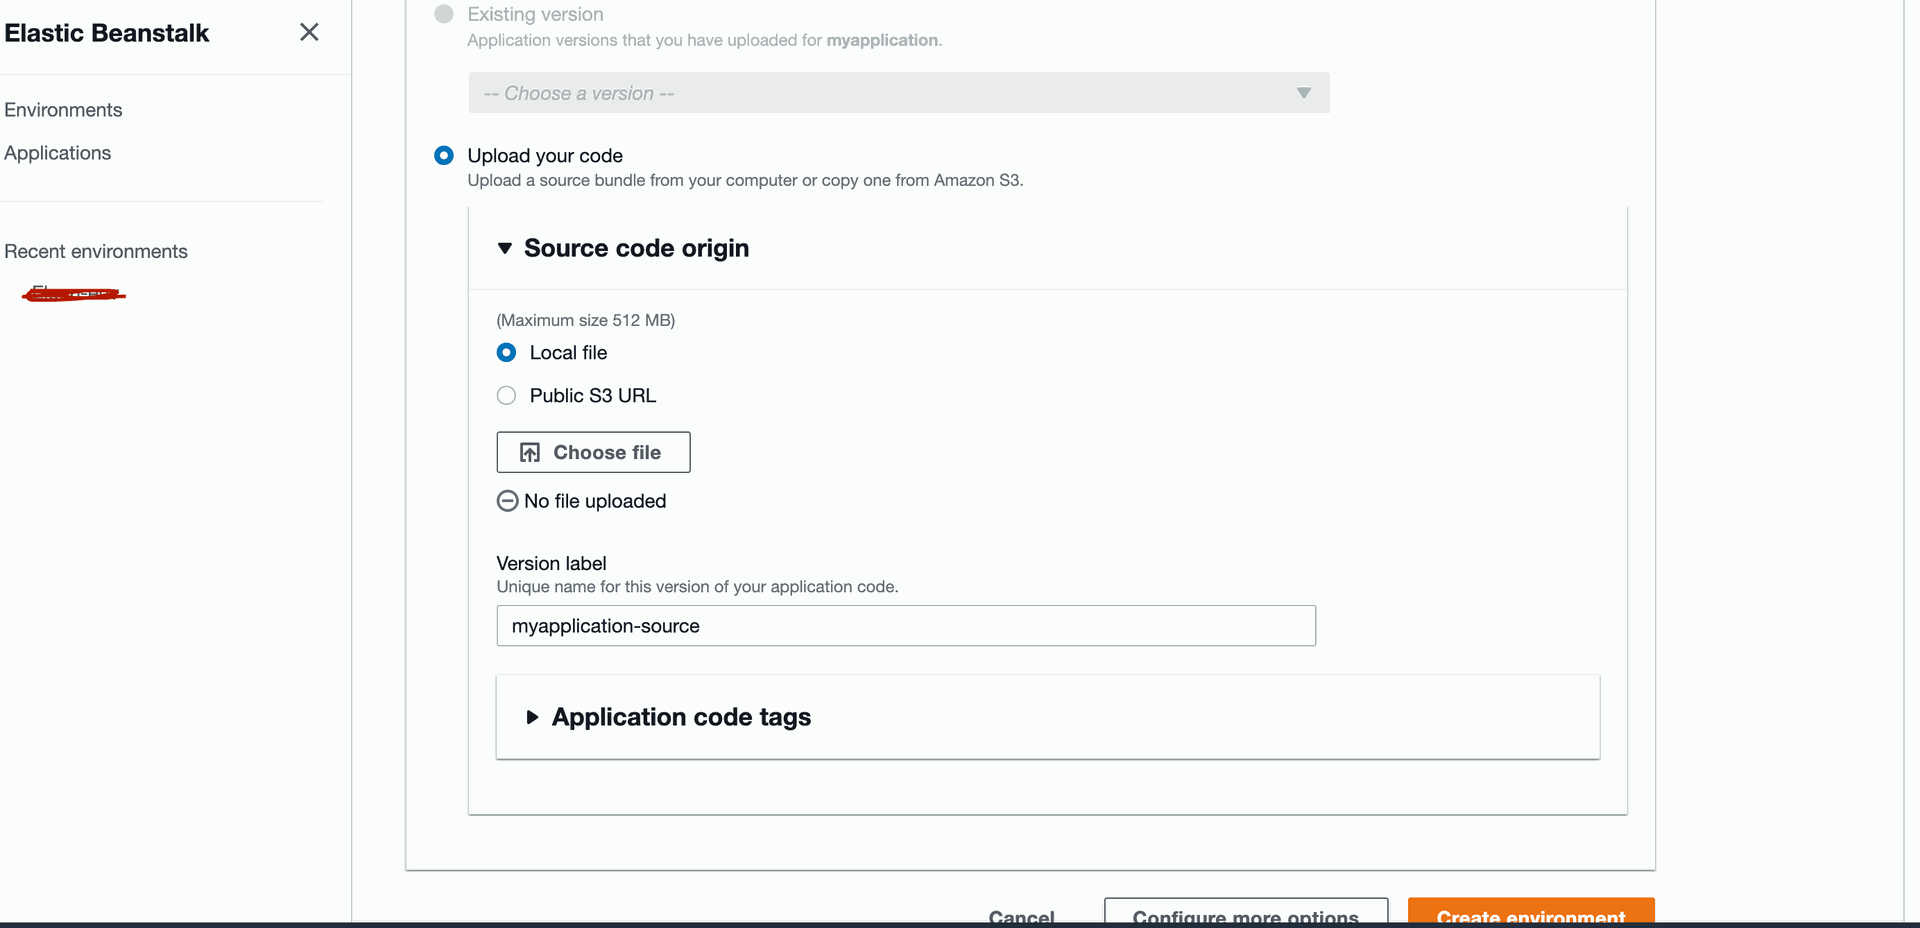
Use the Elastic Beanstalk console to create an Elastic Beanstalk environment. Choose the PHP platform and accept the default settings and sample code.Open the Elastic Beanstalk console using this preconfigured link:
Or you may follow the manual , the below images are from the same screen, which I was not able to take as a scroll.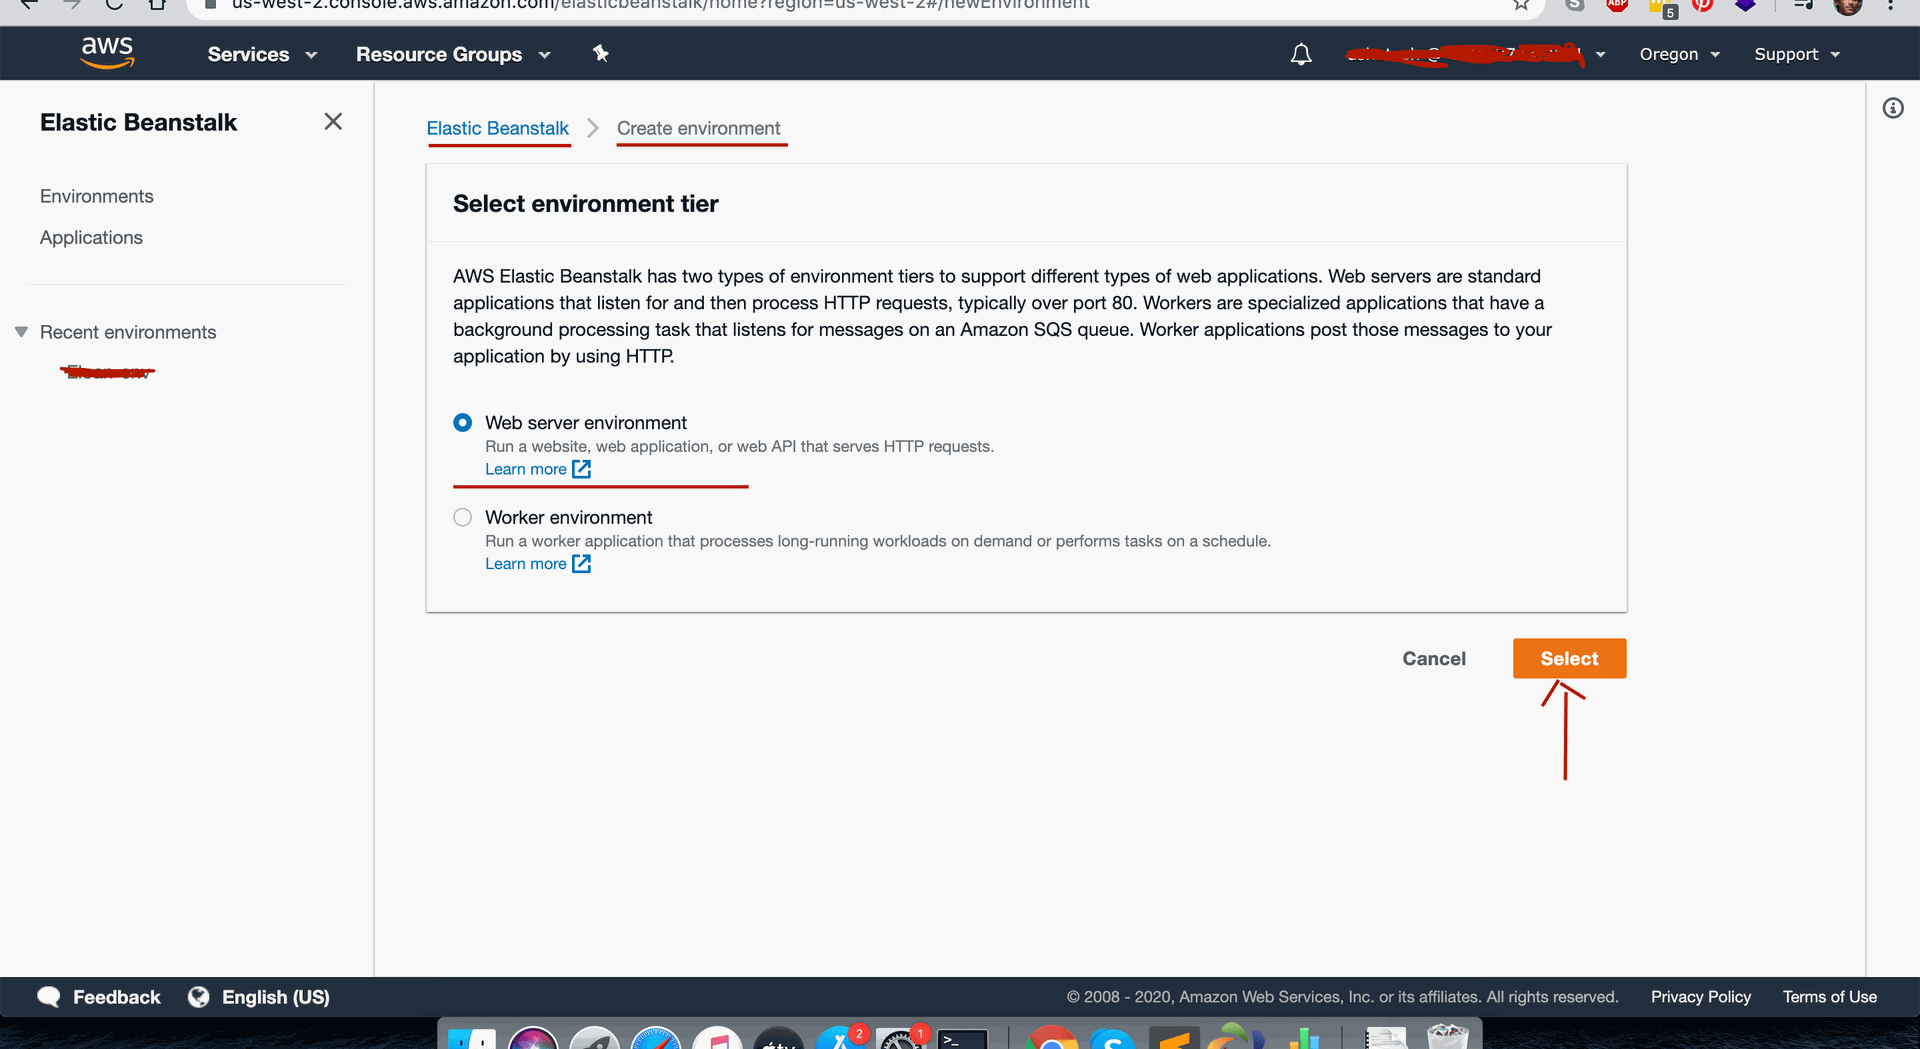

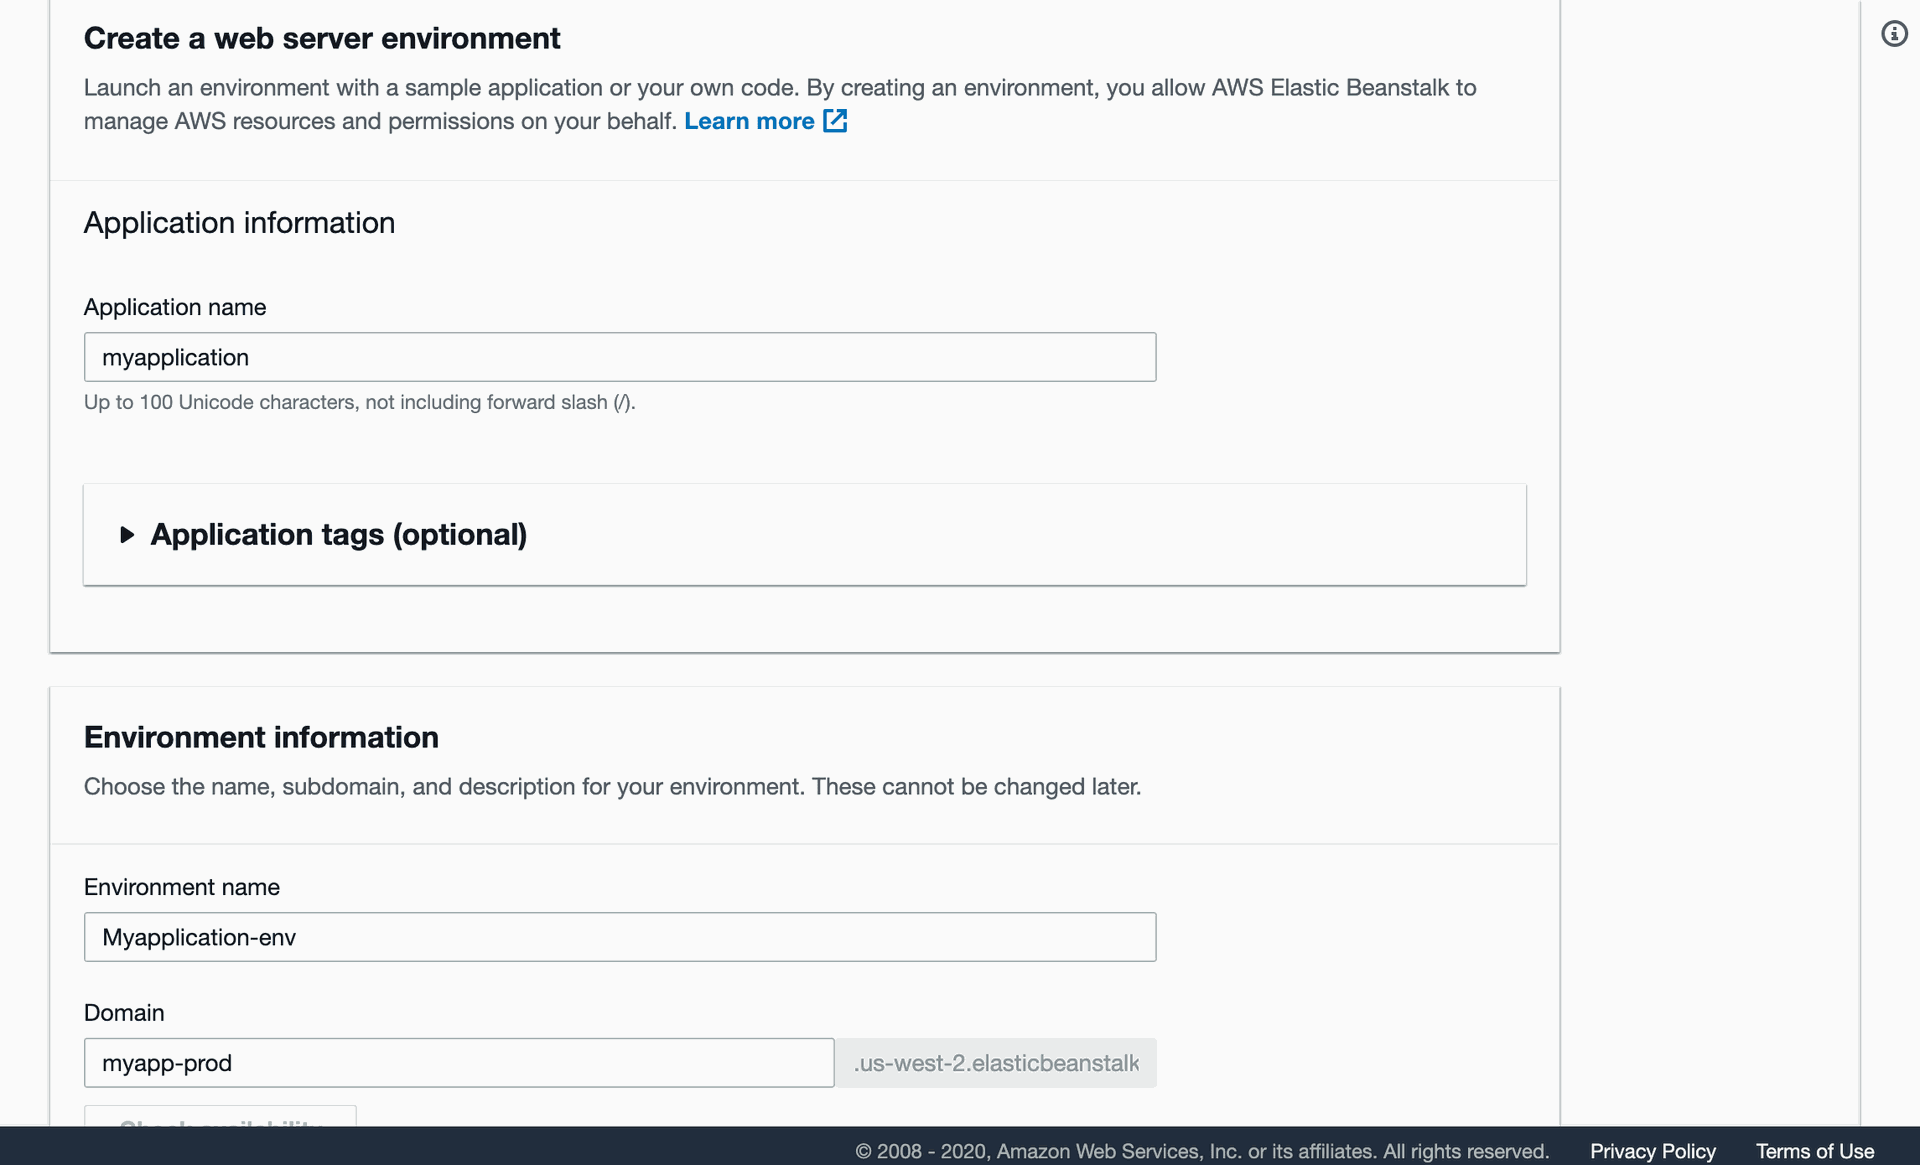
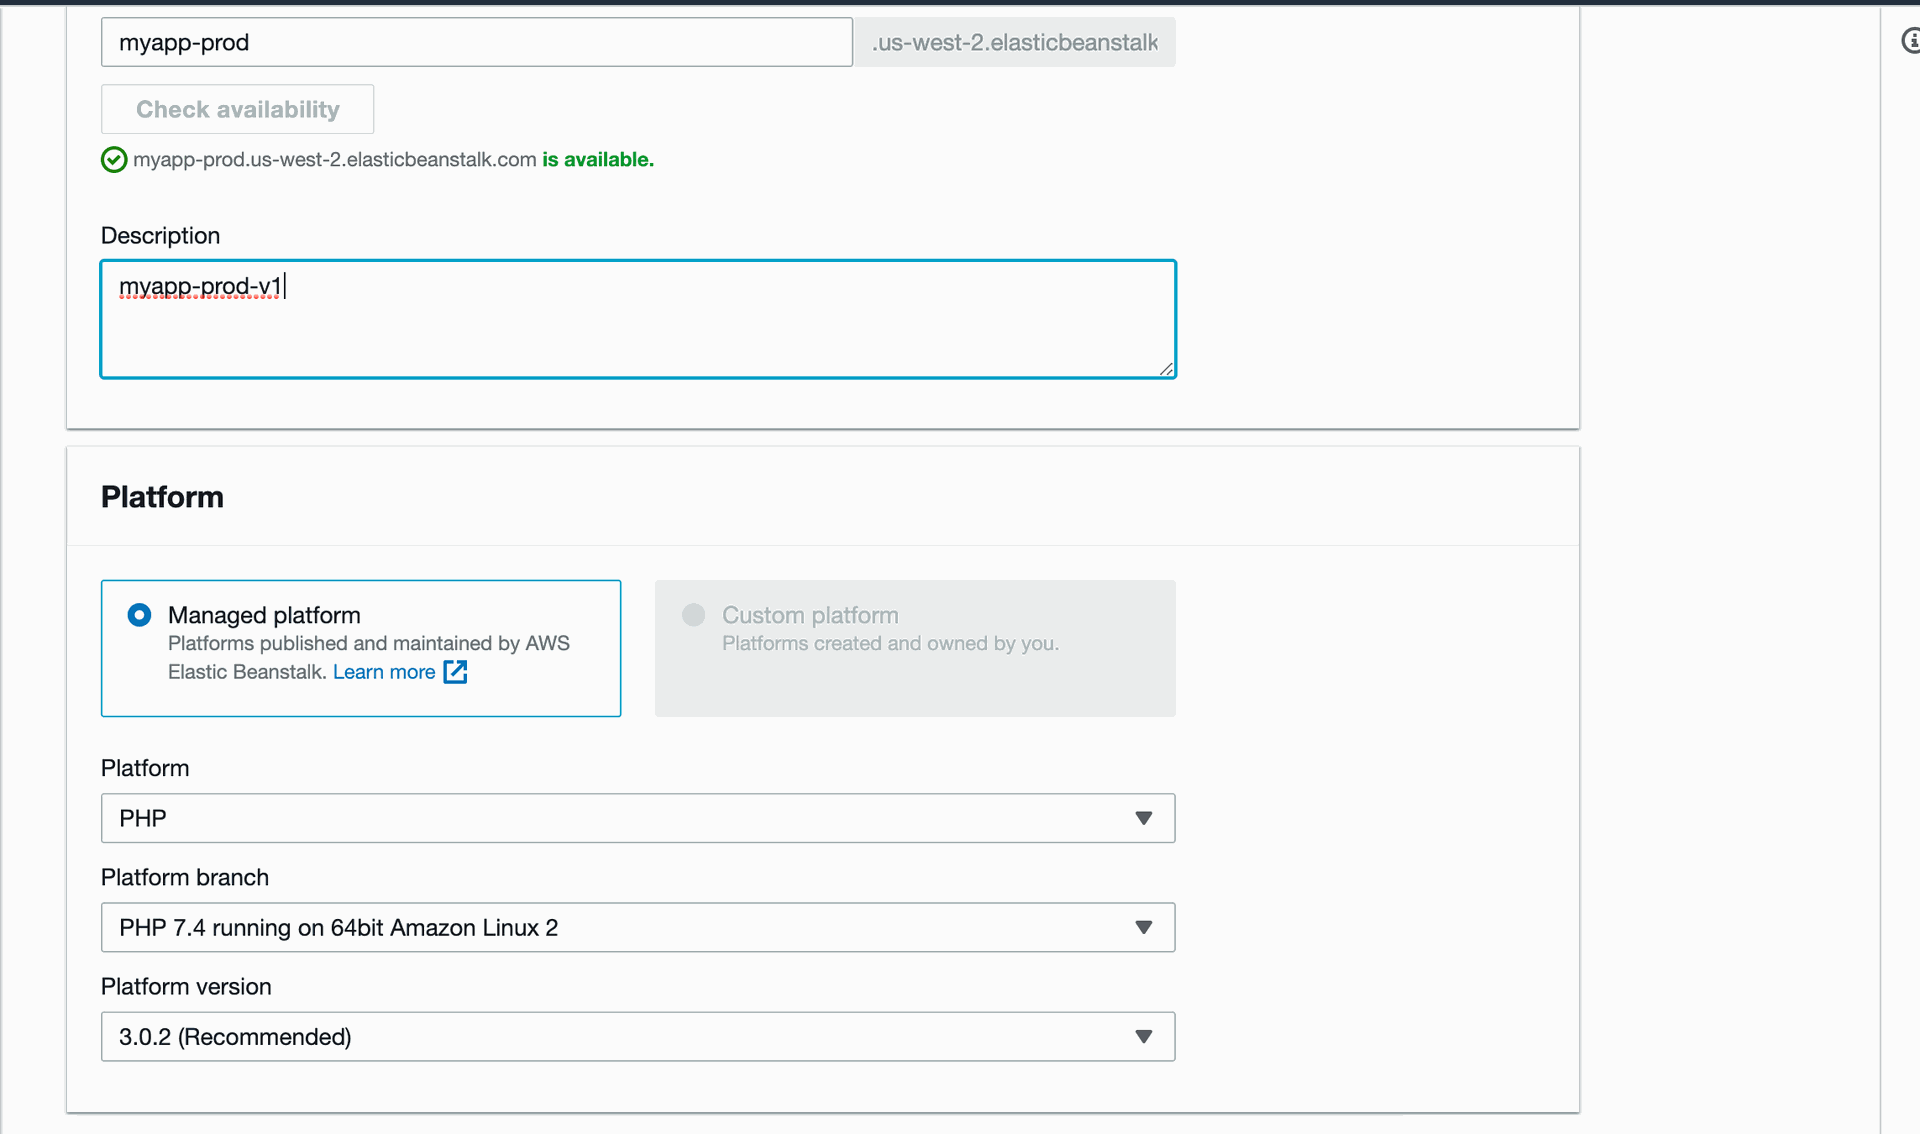

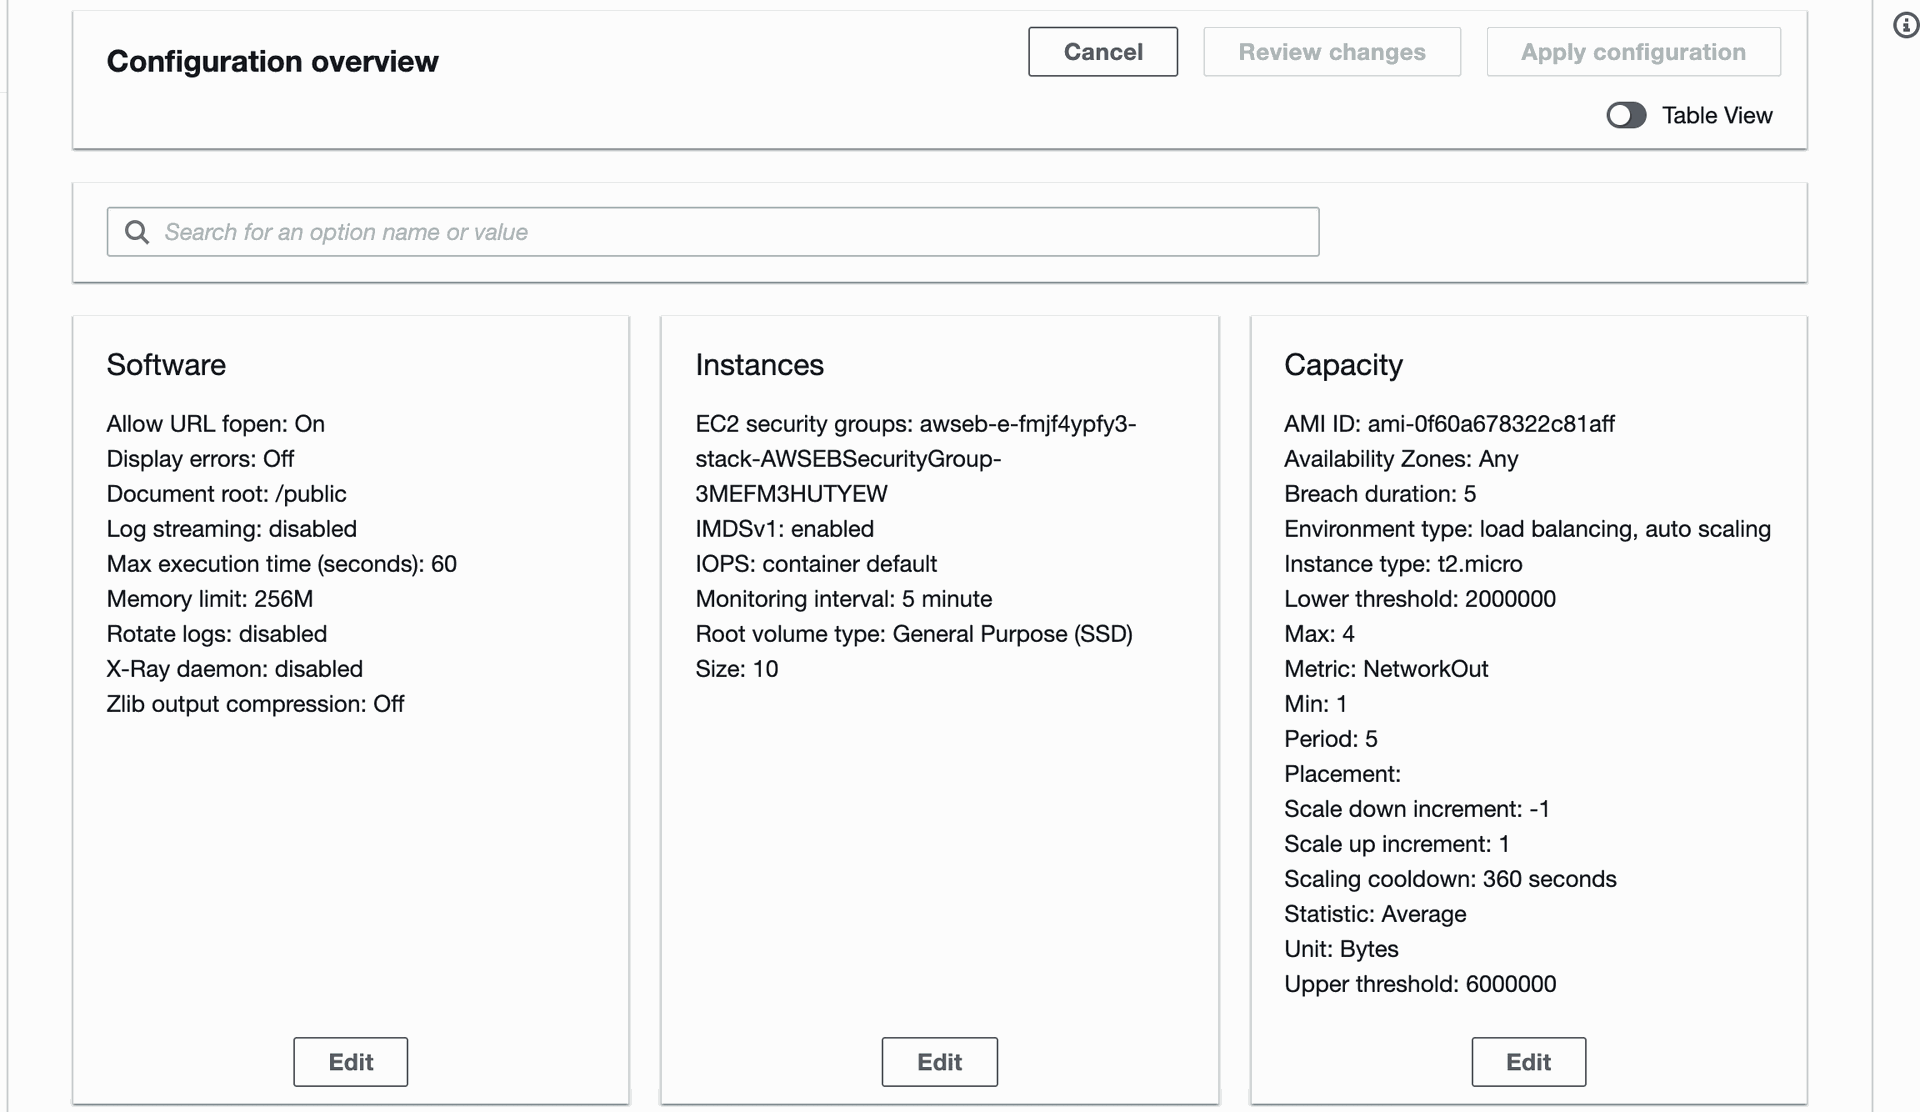

In the configuration, you do not need to do any changes in initial state. But once you deploy the app, or create the environment of the app, you will need few changes to do, after encountering error.
After the success launch of the EBS (Elastic BeanStalk), you will get a URL like

When you click on the URL like http://xxxx-test.us-west-2.elasticbeanstalk.com
Will take you to the web page. But there you will encounter error like:
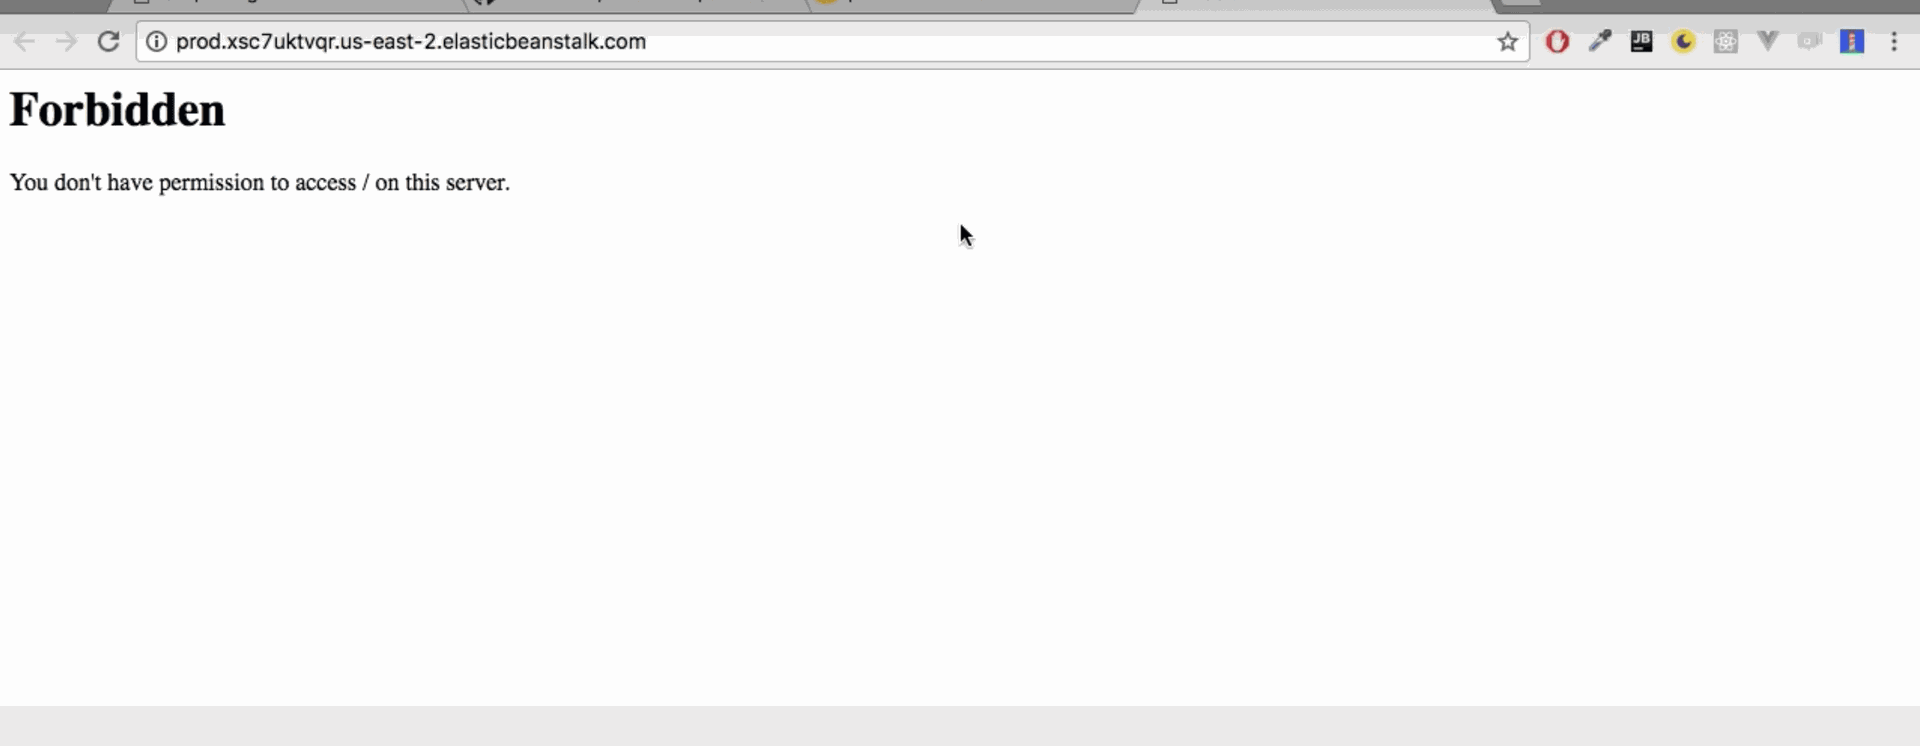
Which means, the all traffic of the Laravel application goes through the public folder ( public/index.php).:)
So, you need to do a tweak here in the environment configuration to add document root as /public.

And save it, it will take bit time to make this change and now your application will start working.
After all these, there's a tricky part of database, which is not configured till now. So going again in the configuration choose the RDS configuration and create a DB instance
:)

Deploying a Laravel application to Elastic Beanstalk