Introduction
In today's digital age, cybersecurity is more important than ever. With the increasing number of cyber threats targeting servers, it is crucial to implement robust security measures to protect sensitive data and ensure the smooth operation of web servers.
One effective tool for enhancing server security is Fail2Ban, a powerful intrusion prevention software that acts as a web server firewall. In this guide, we will walk you through the step-by-step process of using Fail2Ban to protect both SSH and web servers, safeguarding your systems from malicious attacks and unauthorized access. By following these instructions, you can strengthen the security of your servers and mitigate potential risks effectively.
Getting Started
Any service that is connected to the network is at risk of being targeted in this manner. When you examine the logs of a widely used web server, you will frequently encounter systematic login attempts that are indicative of brute force attacks carried out by both human users and automated bots. These relentless login efforts are a common tactic employed by malicious actors to gain unauthorized access to sensitive information or compromise the security of the system.
Prerequisites
- For administrative tasks on an Ubuntu 22 server, it is recommended to have a non-root user with sudo privileges. You can find instructions on creating this user in the Ubuntu 20.04 initial server setup guide.
- Nginx installed on your system
- Nginx installed and configured with password authentication
If Nginx is not install on your server, then first SSH the server and install the nginx web server by below commands:
sudo apt update
sudo apt install nginx
Step 1: Installing the Fail2ban and Basic Configuration
Fail2ban is found in Ubuntu's software repositories. To start, execute the following commands as a non-root user to update your package listings and install Fail2ban:
sudo apt upate
sudo apt install fail2ban
When you install Fail2ban, it will take care of setting up a background service for you. Just so you know, this service is turned off by default because some of its default settings might not be what you want. You can double-check this by using the systemctl command:
systemctl status fail2ban.service

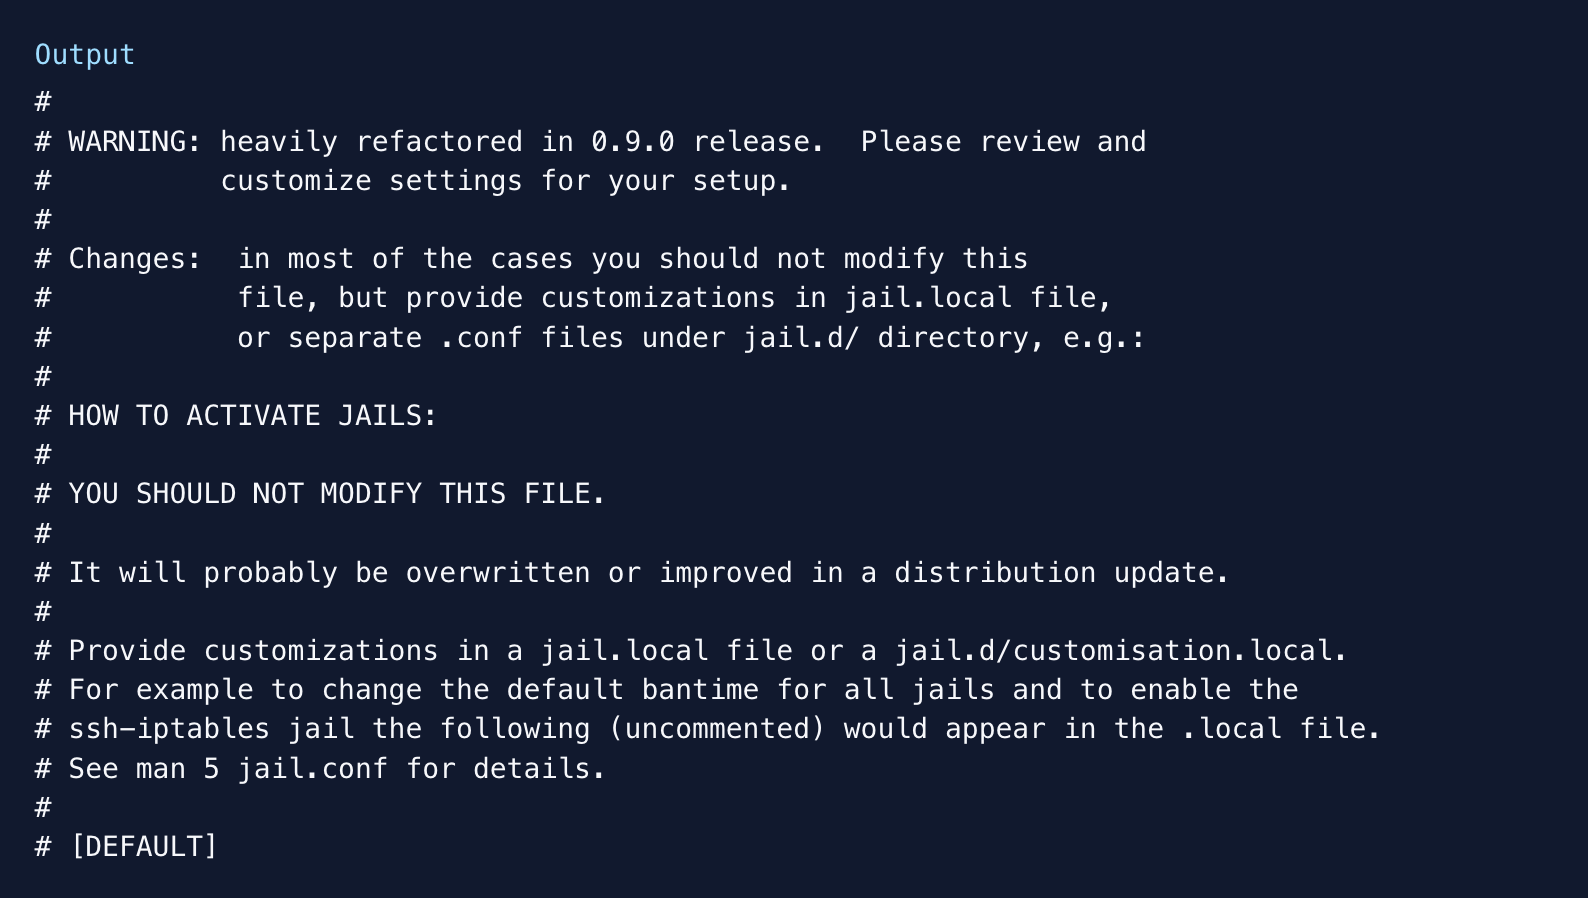
To access the configuration files of the fail2ban service, navigate to the /etc/fail2ban directory. Look for the file named jail.conf and display the first 20 lines using the command head -20.


Within this document, you'll observe that the initial lines are denoted as comments with "#" symbols, indicating they are for documentation purposes rather than active settings. These comments advise against directly editing the file.
You can choose to either set up distinct profiles for Fail2ban in different files within the jail.d/ directory, or combine all your custom configurations into a jail.local file. The jail.conf file will be updated regularly alongside Fail2ban's updates and will function as a guide for default settings if there are no specific overrides.
In this case I will be creating a local jain file from the default fail2ban config file:
sudo cp /etc/fail2ban/jail.conf /etc/fail2ban/jail.local
And will open in any of your favourite editor like nano or vim.
sudo vim /etc/fail2ban/jail.local
Modify Defaults
Locate the [DEFAULT] section, which contains the following global options:
1. When setting up fail2ban, check the ignoreip directive to see which clients are exempt from the policies. Consider adding your IP address to avoid being locked out. You can modify the list by uncommenting the line and adding IPs or networks:
ignoreip = 127.0.0.1/8 117.245.63.31 192.168.1.0/16
2. bantime: This setting indicates the ban duration in seconds for an IP address or host. The default duration is 600 seconds (10 minutes).

3. maxretry & findtime: This feature lets you choose how many login attempts a host can make before it gets temporarily blocked. And This parameter is utilized in combination with the maxretry parameter. If a host surpasses the maxretry.

Step 2: Configuring Fail2Ban to Monitor Nginx And SSH
After configuring the basic fail2ban settings, you can proceed to enable Nginx-specific jails that will monitor your web server logs for specific patterns. Each jail in the configuration file is identified by a header enclosed in square brackets – every section except for [DEFAULT] pertains to the configuration of a specific jail. By default, only the [ssh] jail is active.
If you want to monitor Nginx login attempts in the logs, make sure to enable the [nginx-http-auth] jail. Include an enabled = true directive within this section:

Review the Filter for Nginx login Jails
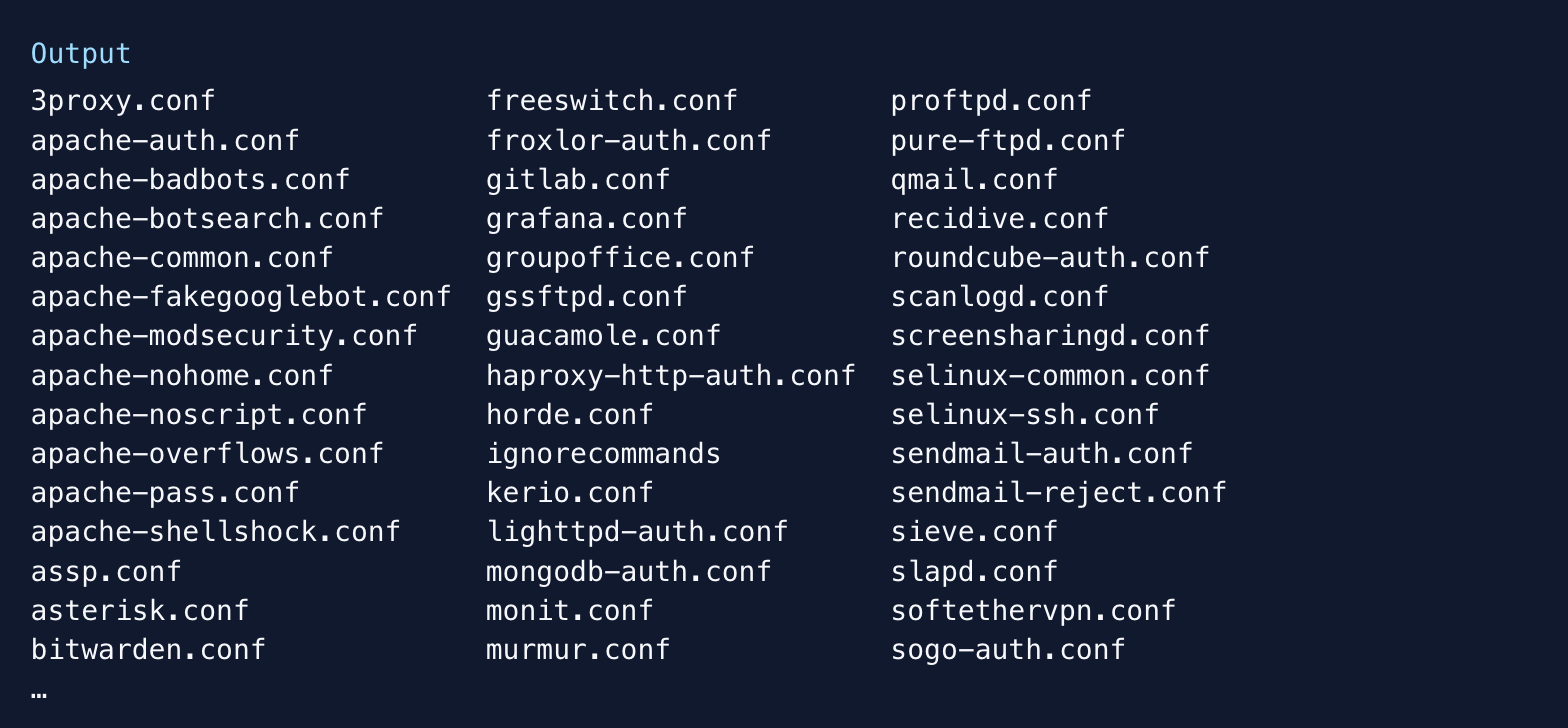
ls /etc/fail2ban/filter.d

If you want to modify the default nginx lgin regex you can open with any editor like blow, and do the modification or add your own custom regex.
sudo vim /etc/fail2ban/filter.d/nginx-http-auth.conf
# fail2ban filter configuration for nginx
[Definition]
failregex = ^ \[error\] \d+#\d+: \*\d+ user "(?:[^"]+|.*?)":? (?:password mismatch|was not found in "[^\"]*"), client: <HOST>, server: \S*, request: "\S+ \S+ HTTP/\d+\.\d+", host: "\S+"(?:, referrer: "\S+")?\s*$
ignoreregex =
datepattern = {^LN-BEG}
…
To protect the DDoS attack, which not includes logins in your application but can utilize your compute engine or the server resources heavily.
Or continuous attacks are coming for the search of some not relevant file with the application, in that situation also your web server will consume resources to process the flooded requests.
Let's see how to overcome that, with help of other fail2ban nginx module:
Create a nginx filter file:
sudo vim /etc/fail2ban/filter.d/nginx-req-limit.conf
Add the below code to the nginx-req-limit.conf file and save it.
# Fail2Ban configuration file
# supports: ngx_http_limit_req_module module

[Definition]
failregex = limiting requests, excess:.* by zone.*client: <HOST>

# Option: ignoreregex
# Notes.: regex to ignore. If this regex matches, the line is ignored.
# Values: TEXT

ignoreregex =
Now open back the jail.local file in any editor to add your new changes like:
sudo vim /etc/fail2ban/jail.local
Add the below code to the end of the file and save it.
[nginx-req-limit]

enabled = true
filter = nginx-req-limit
action = iptables-multiport[name=ReqLimit, port="http,https", protocol=tcp]
logpath = /var/log/nginx/*error.log
findtime = 600
bantime = 7200
maxretry = 10
When configuring your system, remember that the findtime and maxretry values play a crucial role in determining how frequently IP addresses are banned. Customize these values to suit your needs.
After saving both config files, restart fail2ban using:
sudo service fail2ban restart
The above command will restart the fail2ban service and your firwall will start working for your web servers.
To check the status of the running of fail2ban service use: sudo service fail2ban status
If you want to see, which IP is being blocked by the fail2ban firewall, you may use the below command to look in.
sudo iptables -S

Want to see filtered output of the iptables, use blow with grep:
sudo iptables -S | grep f2b

Want to see the fail2ban log, use: tail -f /var/log/fail2ban.log
You will see output like :
2014-04-28 14:16:02,840 fail2ban.actions: WARNING [nginx-req-limit] Ban 95.211.117.202
2014-04-28 14:16:02,848 fail2ban.actions: WARNING [nginx-req-limit] Ban 78.187.45.204
2014-04-28 14:16:03,857 fail2ban.actions: WARNING [nginx-req-limit] 78.187.45.204 already banned
2014-04-28 14:17:36,952 fail2ban.actions: WARNING [nginx-req-limit] Ban 91.216.201.114
You can check the status of a specific jail by using the fail2ban-client with the following command:
sudo fail2ban-client status nginx-req-limit
Status for the jail: nginx-req-limit
|- filter
|  |- File list:    /var/log/nginx/test.com.error.log /var/log/nginx/example.com.error.log
|  |- Currently failed: 6
|  `- Total failed: 389
`- action
   |- Currently banned: 3
   |  `- IP list:   95.211.117.202 78.187.45.204 91.216.201.114
   `- Total banned: 3
After verifying that your rules are functioning correctly, you have the option to manually remove the ban on your IP address using the fail2ban-client. Simply enter the following command:
sudo fail2ban-client set nginx-http-auth unbanip 78.187.45.204
Summary:
Fail2ban provides ample flexibility for creating policies that cater to your specific security requirements. By examining the variables and patterns in the /etc/fail2ban/jail.local file, as well as the files in the /etc/fail2ban/filter.d and /etc/fail2ban/action.d directories on which it relies, you can find numerous aspects to adjust and modify as your needs develop. Employing fail2ban to secure your server can establish a reliable security foundation.
Step-by-Step Guide to Protecting SSH and Web Servers with Fail2Ban - The Web Server Firewall